Saturday, June 29, 2013

Blue Berry Jam

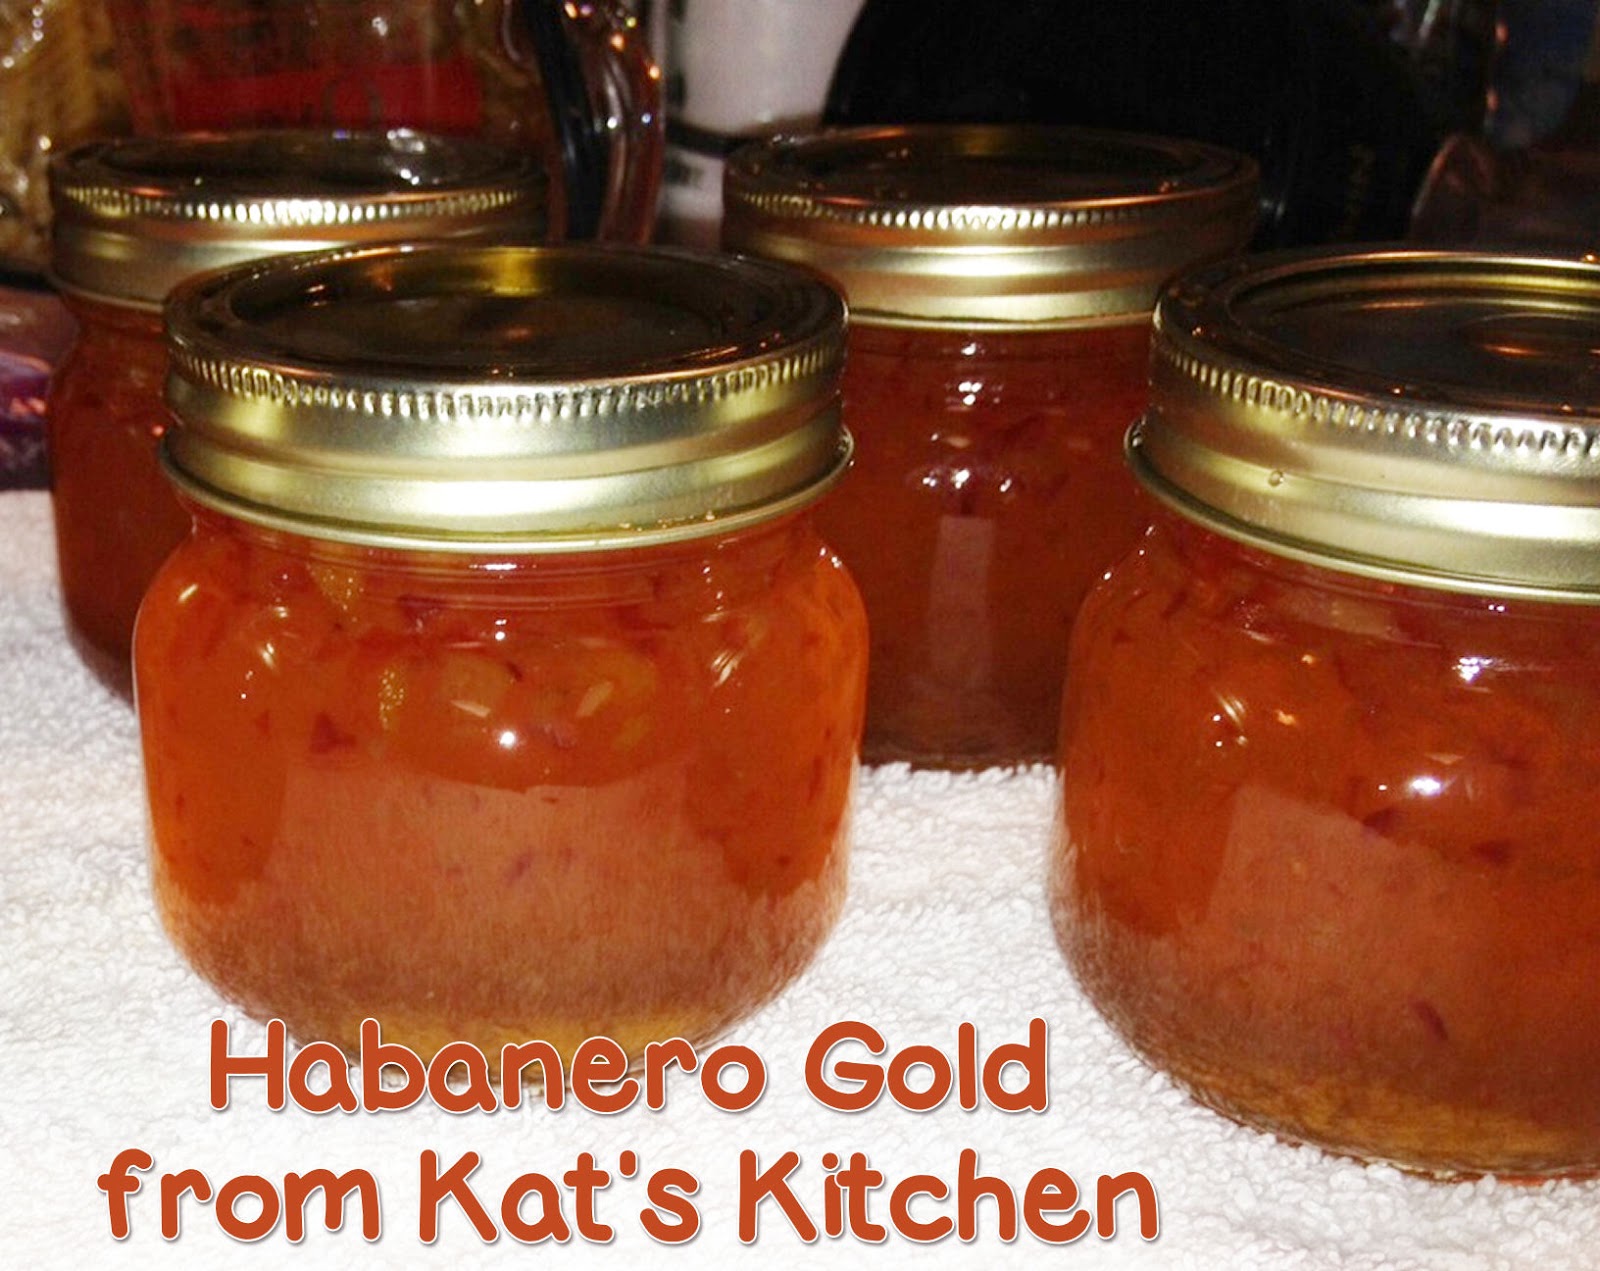
I had a chance to pick some fresh Blue Berries and I made some great jam.  Blue Berries are good any way you eat them and this jam is no exception. 


Yields approximately 10 1/2 pint jars
Ingredients
6 cups of mashed blue berries
 (You will need 10 cups of whole berries)
7 1/2 cups of sugar
6 tbsp. plus 2 1/2 tsp. of Classic Pectin
5 tbsp. of lemon juice
a pat of butter to reduce foaming
Measure out your sugar and pectin and set it aside.  I always take about 1/4 cup of the sugar and mix it with my pectin to reduce clumping when I stir it into my fruit.
First thing you want to do is wash your berries and pick out any little stems and leaves.  Next you will crush them one layer at a time with a potato masher.

Measure as you go.  Once you have 6 cups of berries mashed up, put them in a large stainless steel pot.  Add a pat of butter, the lemon juice and pectin.   Make sure to stir as you put the pectin in to reduce clumping.
  

Over high heat bring fruit, pectin, lemon juice and butter to a boil that can't be stirred down.  Add your sugar all at once and bring back to a boil that can't be stirred down.  Boil for exactly one minute. 
That beautiful color comes from the skins of the blueberry.


Remove from heat and ladle hot jam into clean, hot jars leaving 1/4 inch headspace. 


Take a paper towel dipped in vinegar or hot water and wipe rims of jars to ensure a good seal.  Put on lids and rings and tighten down finger tight.

Process in a boiling water bath for 10 minutes.  Turn off heat and remove lid.  Wait 5 more minutes and then place jars on counter to cool for 24 hours.


Label and Store in a cool dark place


Wednesday, June 26, 2013

Pectin Calculator

Do you need a tried and true recipe for Jam or Jelly.  Try out the pectin calculator on the Ball website.  It will figure the recipe for you and let you print it.  Three simple steps. 

  1. Choose your fruit
  2. Choose Jam or Jelly
  3. Choose type of pectin
Hit the calculate button.  Print your recipe for future reference.  Click the link below to visit their site.

Ball Pectin Calculator

Tuesday, June 25, 2013

Storing Dry Goods

I have been doing some research on the storage of dry goods.  I want to talk about "Oven Canning", first and foremost let me say that "Oven Canning" is not a safe way to can your foods because the heat doesn't penetrate the food the same way it does when water bath canning or pressure canning. 

Storing dry foods on the other hand is something completely different. Many people want to store rice, grains, flour, ect...and want to make sure that it is not infested with bugs and larvae before putting it in storage. 

There are 3 keys that will greatly help reduce your stored food being infested.
  1. Proper Buying
  2. Proper Storage
  3. Good Housekeeping
I am attaching a couple of documents that you may also refer to.  They are from the University of Idaho Extension and the Division of Agriculture Research & Extension, University of Arkasas.

http://www.cals.uidaho.edu/edComm/pdf/CIS/CIS0850.pdf

http://www.uaex.edu/Other_Areas/publications/PDF/FSA-7024.pdf

Both of these documents state that freezing your dry goods is one option and heating them in an oven is another for killing any bugs or larvae.  If heating in the oven they both suggest heating in a shallow pan at temperature from 140 to 155 degrees for 1/2 hour. 

I know that many people actually put it in jars and put the jars in the oven at 200 degrees for an hour, then remove jars from the oven and put on lids and rings. 

This method has not been tested enough to prove if this amount of heat and temperature changes the food in any way and it is not safe to put jars in an oven, it can crack the jars. 

You should heat the dry goods in a pan as directed in the attached documents and then transfer to jars.  Put on lids and rings and tighten down finger tight.  Most of the time the heat from the food will help the jars seal but if you have a food saver, you can use the attachment to remove air from the jars. 

I wanted to extend a special thank you to Kayla Wells, WSU Colville reservation-Ferry County Extension, Family & Consumer Sciences Educator & 4H Challenge Coordinator for all of her help in my research and for giving me the articles on dry good storage.


Sunday, June 23, 2013

Why put butter in Jam and Jelly?

The following question was ask as a comment on one of my jelly recipes.  I thought it deserved a spot under Q&A so that if there are any other canners wondering the same thing, you would have an answer. 

Q: 
what purpose does the butter have in the recipe ? have you tried leaving it out ? Butter can turn rancid and I know it is a small amount but I would double/triple the batch for gifts.
TinaH
 
A: 
Butter helps reduce foaming when making jam or jelly. It is an optional ingredient and if you check the tips in your boxes of Ball Pectin and the Ball Blue Book you will find that it also tells you to use a little butter to reduce foaming.  I have never had a problem with any of my jams or jellies by using it. 

Friday, June 21, 2013

Apple-Cinnamon Jelly

This beautiful red jelly makes wonderful gifts during the Christmas holiday.  It's sure to be a family favorite. 

Note:  Jelly and Jam should both be made in single batches.  Doubling a jelly or jam recipe may prevent it from gelling properly.
You will need
4 cups of apple juice, bottled 100% apple juice
5 cups of sugar
1/2 cup of red hot's cinnamon candy
6 tbsp. of classic pectin
1/2 tsp of cinnamon
1 pat of butter (about 1/2 tsp)

Makes 7 1/2 pint jars of jelly

Get your canner and jars all ready

Measure out 5 cups of sugar and set aside.  Measure out your pectin and add 1/4 cup of the sugar that you measured out to the pectin.  Stir it together.  (This keeps your pectin from clumping)

Put your juice in a medium/large stainless steel pot.  Add the pectin mixture, butter, cinnamon and candy.  Bring to a boil that can't be stirred down over high heat.  Make sure all the candy melts.  Add your sugar all at once and bring back to a boil that can't be stirred down.  Boil rapidly for exactly one minute.   Remove from heat and ladle into jars leaving 1/4 inch head-space.


Wet a paper towel and wipe rims of jars to ensure a good seal.  Put on lids and rings and tighten down finger tight.  Place jars in a boiling water bath canner and process for 10 minutes.


Turn off the heat and let stand for 5 more minutes.  Remove jars from canner and place on counter to cool for 24 hours.  Label and Store.


Watermelon Rind Preserves

STOP!  Don't throw out that watermelon rind...make preserves.  Here's how.

You will need:
6 cups of prepared watermelon rind
4 cups of sugar
1/4 cup of lemon juice
1/2 cup of thinly sliced lemon, seeds removed
4 tbsp. of salt
1 tbsp. of ginger
3 1/2 quarts of water
Jars, lids, rings and canning equipment

First you must get your rind prepared to make the preserves.  To do this you will trim away all the green skin and pink flesh.  Cut your white rind into about 3/4 to 1 inch pieces. 

Dissolve your salt in 2 quarts of water.  Pour salted water over the rind and let sit for 6 hours.  Drain and rinse well.  Cover with water and drain again.  Cover with water one more time and let set for 30 minutes.

Drain off water and put rind in a large stainless steel pot.  Sprinkle ginger over the rind and cover with water.  Cook until fork tender and drain.

Now that you have your rind prepared, Let make those preserves!

Combine Sugar, Lemon Juice, 1 1/2 quarts of water to a medium/large stainless steel pot.  Bring to a boil and boil 5 minutes.  Add rind and boil gently until rind is transparent and syrup thickens.  Add your lemon and cook 5 more minutes. 

Remove from heat and skim foam if necessary.  Ladle into jars.  Leave 1/4 inch headspace.  Wipe rims with paper towel dipped in vinegar and put on bands.  Tighten down finger tight.

Process in a boiling water bath canner for 20 minutes. 

Remove from canner and let sit on counter for 24 hours.  Label and Store.


Wednesday, June 19, 2013

How important is it to exhaust a pressure canner?

It is very important to make sure you exhaust your pressure canner for the proper amount of time.  Most are usually for 10 minutes.  The All American says to exhaust for 7 minutes.  Always follow what your manual recommends for the canner you are using. 

If you don't exhaust the canner for the right amount of time then the inside temperature may not correspond to what is on the pressure gauge. 

Take that extra few minutes and stay safe.


Tuesday, June 18, 2013

Oven Canning, Is is safe?

Is it safe to process food in the oven?

It is not a recommended way of home canning food because the temperature in different ovens can vary according to how accurate the oven regulators are and the way the heat circulates. 

Dry heat is very slow when penetrating into the jars and therefore may not heat properly to the center of the food. 

Another reason is because jars have been know to easily explode in ovens.

The canning jar companies do not recommend using their jars in ovens or microwaves.  This is a letter from Jarden Home Brands about baking or cooking with their jars:

Thank you for contacting Jarden Home Brands. You ask a great question! We know that the idea of baking in Ball® and Kerr® mason jars seems to be very popular right now, especially online and in cooking and baking communities! However, our jars are not oven-safe or microwave-safe. Because these appliances don’t heat evenly, the glass is at risk of breaking due to thermal shock, and at an even greater risk of breaking from the rush of room-t...emperature air when the oven or microwave door opens. This would waste your food and destroy the jar, and could even hurt someone. For these reasons, we have to advise you to please not bake in our jars.
We hope this information has been of assistance. Again, thank you for contacting us.
Sincerely,
The Consumer Affairs Team

Many people do what they call "Dry Canning" in ovens.  This is simply heating your dry goods such as flour, sugar, rice ect...and sealing the jars.  This would help kill any bugs or eggs that might be in the dry goods.  I don't know that heating your dry goods before sealing the jars would help in the preservation of the food other than killing any vermin. 
I use a food saver when storing dry goods to remove the air from my jars and seal them that way.

For more information, Click  Here   to see my post on Storing Dry Goods.


How important is head space?

I have seen lots of jars of great looking jams, jellies, meats, you name it and I have seen it online.  One thing that concerns me is that many of these pictures are showing jars with what looks like 2 or more inches of head space.  It's very important that you leave the proper amount af head space when home canning.  If you start out with the right amount and lose some during processing, then you are still ok as long as your jars seal properly.  Even then you may have some discoloration on the top of the food, but the food would be ok.


You might ask,  do I really need to leave a certain amount of head space in the jar?

My answer would be, Yes, you do.  There are 2 good reasons to leave the correct amount of head space in the jar when home canning.

1:  Leaving the right head space is important to make sure you get a good vacuum seal.  If you don't leave enough head space then your food can expand and bubble out with the air being forced out during processing.  The food can get on the jar rim and prevent the jar from sealing.

2:  If you leave too much head space then the food on top will very likely become discolored and again the jar may not seal properly because the processing time may not be long enough to force all of the air out of the jar. 

So do yourself a favor and check that head space.  After all, you have worked hard to prepare this food for your family, why let something that is so easily corrected possibly cause you to lose it.


Friday, June 14, 2013

Freezing Berries

Do you love to preserves your berries, but hate when they are all mushy once thawed...me too.  Here is the best way to preserve berries if you want to freeze them.
  1. Wash them and put on paper towels to dry.  You can air dry them or pat them gently with paper towels. 
  2. Spread them on a cookie sheet and put in the freezer for about 1/2 hour or until frozen.
  3. Put frozen berries into zip lock freezer bags or if you have a food saver, the vacuum seal is great.
  4. Use as needed
Your berries will not stick together and won't turn to mush when done this way.  You can harvest them as they ripen and keep adding berries to the same bag if you are using the zip lock bags.  Frozen berries make great jams and jellies. 

Tuesday, June 11, 2013

What do I do with all those onions?

Nancy asks:
I have to dig up my onions today but what am I going to do with them all??? Can I freeze whole onions to use PRN?

Answer:
Nancy, There are several ways to store your onions.
1:  You can freeze them. It works best if you cut them up and put on a cookie sheet and freeze for an hour or two, then store in freezer bags. This way they don't stick together when you start to use them. Frozen onions work best when used in soups or stews. They will be soft when thawed.
2: You can also can Carmelized Onions..yummy. 
3:  Dehydrate them.
4:  I have had people tell me that they ferment them in quart jars just like making kraut, and that they are delicious that way, but I haven't tried it
5:  You can also store whole onions for 6 to 8 months in a cool, dry place.  You can use mesh bags or even old pantyhose.  Hang them on a hook and use when needed.


You can google for Fermented Onions and find all kinds of ideas.


Saturday, June 8, 2013

Homemade Vanilla Extract

Making your own Vanilla Extract is very easy and economical.  If you buy Pure Vanilla Extract in the store it can get very expensive, but you can make your own at a fraction of the cost.  It makes wonderful gifts as well. 

Pure Vanilla Extract only has three ingredients. 
  1. Alcohol
  2. Vanilla Beans
  3. Water
When you make your own you will need to buy only 2 things.  Vanilla Beans and Vodka.  Water is in the Vodka already, you DO NOT ADD WATER.

  1. Alcohol.  I buy Vodka, but you can use other kinds.  Vodka will not leave any other taste in your finished product.  You won't add water.  Vodka has water in it already.  I buy Smirnoff, 80 proof.


2.  Vanilla Beans.  I buy Premium Madagascar Vanilla Beans.  This give you that creamy vanilla taste. 

How much you buy depends on how much you want to make.  Beanilla.com suggests 5 beans per 8 oz of alcohol.  I used 35 beans and did 1/2 gallon.


I decided to use the jug that my vodka came in to make mine since it was a nice glass jug.  I poured a little bit of the alcohol into a glass to make room for the beans.

Next I got out my cutting board and a sharp knife.  I sliced my beans down the center leaving both ends intact.


Then opened them up so that the seeds would be exposed

I put the beans into the vodka as I opened them up.   Once I had 35 beans in the jar I put back the alcohol that I had taken out until the jug was full again.  Put on the lid and put in my closet.  At least once a week I will give it a good shake. 

You can use the extract after 8 weeks if needed, but it will get better if you let it sit longer.  I will let mine sit for 5 to 6 months. 

Make sure that you keep the beans covered with alcohol at all times.  If you use the extract you can add more alcohol.  Here's my finished jug before I stored it away.


I got this information from beanilla.com about the different kinds of beans you can buy to get different flavors of extract.  
Do you prefer bold and smokey? If so, try Mexican vanilla beans. Rich and creamy? Use Madagascar Vanilla Beans! Floral aroma and unique cherry-chocolate? Venture to the Tahitian vanilla beans. Each type is excellent for homemade vanilla extract.  You can even blend various varieties together.  The floral, fruity, cherry like notes of the Tahitian variety blend wonderfully with the nutty-chocolate character of the Bourbon varieties.

For more information about making your own vanilla extract click the link below.


Wednesday, June 5, 2013

Habanero Gold Jelly

I love pepper jelly, and this one is no exception.  If you like a little sweet and a little hot, then this jelly is definitely for you.  Grab a block of cream cheese and some crackers and you are in for a special treat!

  Once you try this it is sure to become a family favorite.


Yields approximately 6 half pint jars
You will need 
  • Water Bath Canner
  • Jars, Lids and Rings
  • Jar Lifter, Magnet, Towels, Cutting Board and
  • all those little things that make canning easy and fun.
  • 2/3 cups of finely chopped dried apricots
  • 1 1/2 cups of white vinegar
  • 1/2 cup of chopped red onion
  • 1/2 cup of chopped red pepper
  • 1/2 cup of chopped habanero pepper
  • 6 cups of sugar
  • 2 pouches of liquid pectin
  • A pat of butter
When working with peppers, especially habaneros and other hot peppers you should wear rubber gloves to protect yourself from the heat.  I freeze mine and use them as I need them.  I have found that they are much easier to handle and the juices don't have time to burn your hands like they do when fresh picked.  You don't lose the heat when freezing them and they work great for jelly.

Now let's make Jelly!


Combine your vinegar and apricots in a large stainless steel pot.  Stir and let set for at least 4 hours.  I do this step either the night before and make jelly the next morning or I do it that morning and make the jelly when I get home from work in the evening. 

Looks like this


Put your jars in the canner to sterilize while you are making the jelly.  Put boiling water over your lids and rings and let set until you are ready for them.

Chop your onions and peppers up.  To have a very pretty jelly you can cut them into 1/8 inch slices and then again into 1/4 inch pieces.  I am lazy, so I put them in my ninja and give the a zap or two.  Mine look like this.

Add your onions, red peppers and habaneros to the pot. 

 Stir in your sugar and a pat of butter. 
 Turn heat on high and stir constantly.  Bring this to a full rolling boil that can't be stirred down.  Stir in the pectin and bring back to a boil.  Boil exactly one minute.  Remove from heat and skim foam if needed.  The butter helps greatly to reduce foam.

Immediately fill your hot jars leaving 1/4 inch headspace.


Wipe the rims with a paper towel dipped in vinegar to ensure a good seal.  Put on rings and tighten down finger tight.

Place in boiling water bath and process for 10 minutes.


 Turn off heat and remove lid.  Let jars sit in canner for another 5 minutes.  Remove from canner and place on counter to cool for 24 hours. 


Tip:  If you want your fruit to be distributed more evenly in the jars, let them cool for about 15 minutes or until you hear them ping.  Very carefully lift the jar and twist/tilt very gently to allow it to distribute a little more.  DO NOT  SHAKE AND DO NOT INVERT THE JARS.  Inverting a jar can ruin your seal.